Conda with Pytorch
Now that we have set up a virtual environment in Python using the venv module, let’s take a look at an alternative method of setting up virtual environments with Conda.
Conda is a powerful package manager and environment management tool, widely used in data science and machine learning to manage dependencies and create isolated environments for different projects. This guide will walk you through the steps to install Conda on your system.
What is Conda-Forge and Mini-Forge?
Conda-Forge is a comunity-driven repository of conda packages. Mini-Forge is a lightweight installer for Conda, optimized to use Conda-Forge by default. For this guide’s purposes, we will use MiniForge.
Steps to Install Conda
Step 1. Connect to our systems. If you are unfamiliar with how to do this, please review the section called Connecting to TACC.
Once we have connected to TACC systems, we can now install Miniforge.
Note
It is best practice to build conda environments in the $SCRATCH directory because conda can overload the filesystem when using $WORK and $HOME does not have the storage space for ML tasks. It is important to note that on $SCRATCH your environment is subject to being purged. Care should be taken to back up the environments you build on $WORK.
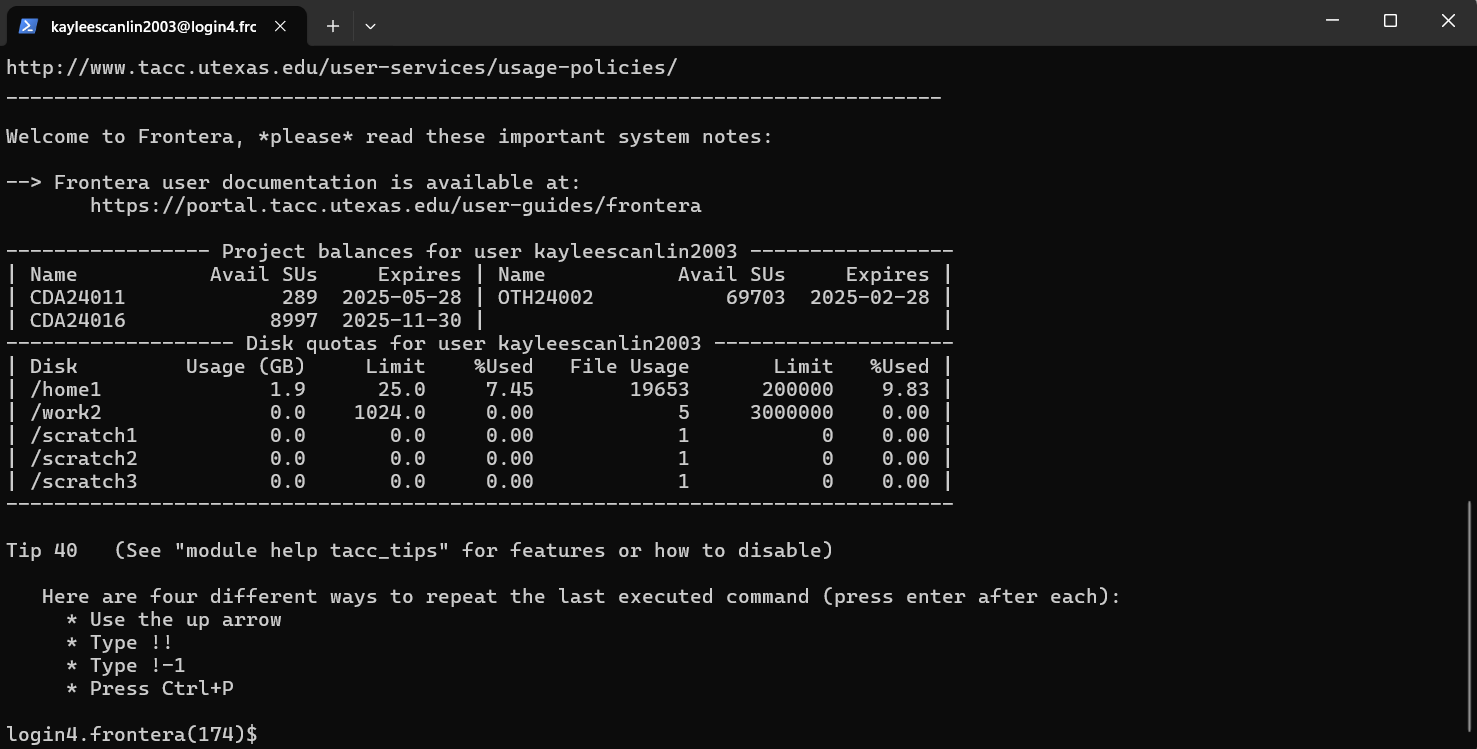
Step 2. Install MiniForge Miniforge is one of several Conda installers, others examples include Anaconda and Miniconda. We will be use miniforge to download Conda into the $SCRATCH directory. We are going to install Conda in Frontera for the sake of this tutorial. When you SSH into Frontera, you will see this screen:
SSHing into Frontera takes you to the $HOME directory by default. Change your directory to $SCRATCH by using the How to Change Directories tutorial.
Once you are in the $SCRATCH directory for frontera, we can install Conda. Use curl (a command-line tool to transfer data from a server via HTTP) to download Miniforge which will come bundled with conda.
Run the following command in your terminal:
(You may also use wget if you prefer).
curl -LO https://github.com/conda-forge/miniforge/releases/latest/download/Miniforge3-Linux-x86_64.sh
Note
This download pulls it directly from the github link for the Linux architecture, which is what our systems use. If you follow this tutorial to install it on a local machine, you will need to change the URL to the installation file containing Miniforge for your system, which can be found in the same repository: https://github.com/conda-forge/miniforge/releases
Now make the execution script executable with chmod, which modifies file permissions so that we can execute (+x) the file:
chmod +x Miniforge3-Linux-x86_64.sh
Now we can run the Miniforge installer:
bash Miniforge3-Linux-x86_64.sh
Note
When you run the bash script, you will have some disclaimers pop up on your command line during the installation process. This disclaimer will walk you through the installation steps for Miniforge, but it will present to you a default installation folder that is in the $HOME directory. Ensure you change this to your scratch/frontera directory before you install Miniforge.
After running the bash script, it will ask you to update your shell profile to automatically initialize conda. Type ‘yes’.
- Step 3. Initialize Conda
After installation, initialize Conda to configure your shell:
conda init
Restart your terminal for the changes to take effect.
- Step 4. Verify the Installation
Confirm that Conda is installed by running:
conda --version
This should display the installed Conda version.
Congratulations! You now have Conda installed on your system.
Creating and Managing Environments
Once Conda is installed, you can start creating and managing environments using the following commands:
Create a new environment:
conda create --name myenv python
Activate an environment:
conda activate myenv
Deactivate an environment:
conda deactivate
Remove an environment:
conda remove --name myenv --all
Lets Install & Test PyTorch
Now that we have Conda installed and we understand how to activate, deactivate, and delete environments, let’s try installing and testing pytorch by running the multigpu_torchrun.py script from the official Pytorch library. This script facilitates and streamlines the training of ML models on multiple GPUs, as well as benchmarks the performance of Pytorch-based models on multiple GPUs.
To run the multi_gpu_torchrun script, we must first use the idev tool to request a GPU Node. Each Node on Frontera is comprised of four GPUs, which is why we’ll only request one to run the multigpu_torchrun.py script.
- Step 1. Request a Node through idev
The idev command is a tool developed by TACC to facilitate real-time software development on our HPC systems.
First, we’ll start an idev session. Ensure your current directory is $SCRATCH.
/scratch/<group number>/<TACC username>/frontera
You should be in the scratch folder for Frontera. In this work folder, begin your idev session by running:
idev -N 1 -n 1 -p rtx-dev -t 02:00:00
When you request a node through idev, you will see a status update print to the terminal while your job is waiting in the queue. After your idev session starts, your terminal session will automatically be connected to the node you requested. Once connected, you should see your terminal prompt change to the node name:
c196-012[rtx](416)$
This is how you will know your idev session has begun.
Step 3. Create a Conda Environment We can now create our first Conda Environment. Create a Python 3.10 environment to ensure it works with CUDA by running the command:
conda create --name pytorch_env python=3.10
Upon creation, the terminal should prompt you with a series of yes/no questions pertaining to the libraries that Conda will automatically install in the environment. Select yes to create the environment.
Once the environment is created, activate it with:
conda activate pytorch_environment
Once the environment is properly activated, your working directory should look like:
(pytorch_env) c196-012[rtx](418)$
Step 4. Install Pytorch in Conda Environment To install Pytorch in our new Conda environment- which is in the $SCRATCH directory of Frontera, running in a single rtx node idev session- run the following Conda command in the environment:
Note
We will need to install Cuda to run the multigpu_torchrun.py file on the Frontera’s NVIDIA GPUs.
conda install pytorch torchvision torchaudio pytorch-cuda=12.6 -c pytorch -c nvidia
Step 5. Running an Example Script
Now that we have requested a specific number of GPU nodes to use with idev and created a Conda environment with Pytorch, we can try running an example script where we ensure that our environment works for multi-GPU training- a task with many applications in ML/AI in HPCs. By downloading and running a python script from the official Pytorch repository called multigpu_torchrun.py, we can enable single training jobs to utilize multiple GPUs on a machine.
This portion of the tutorial will require the use of Git- do not worry about downloading it. It is already installed on TACC systems!
Step 5. Clone the Pytorch Repository This is an official repository containing dozens of example scripts from the Pytorch library. For the purposes of this tutorial, we will be cloning it into our new environment.
git clone https://github.com/pytorch/examples.git
Step 6. CD into the ddp tutorial series folder Upon listing all of the directories now present in the $SCRATCH folder, we should now see a new directory called examples. Now cd into the following directory:
cd examples/distributed/ddp-tutorial-series
Step 7. Run multigpu_torchrun.py And within our virtual environment, we will use the torchrun command to launch the training script across all of the available nodes (1).
torchrun --standalone --nproc_per_node=gpu multigpu_torchrun.py 5 10
This will distribute the training workload across all GPUs on your machine using torch.distributed and DistributedDataParallel (DDP), and train the model for 5 epochs and run checkpoints every 10 seconds.
When run successfully, you should get a result like this:

Congratulations! You have now run a successful multi-GPU training task in a Conda environment.
OPTIONAL: Export Environment & Manage Dependencies with a YAML file
If you would like, you can manage your Conda environments using a YAML file, which helps ensure consistency across different systems and distributed environments.
Typically, conda environments are managed in a file called environment.yml, which defines and manages dependencies, environments, and channels. Let’s manually create one–you will need vim or nano to do this through the command line.
Step 1. Create an empty YAML File First, we’ll need to create an empty environment.yml file to store our dependencies in with the following command:
touch environment.yml
Step 2. Add your environment variables to your YAML File Use the vim command vim environment.yml to open your environment file, then click the insert key on your keyboard to begin typing in these dependencies. When you are finished, click esc to get out of write mode, and then type in :wq (write quick) to save the contents of your file and exit out.
name: pytorch_env
channels:
    - pytorch
    - defaults
dependencies:
    - python=3.10
    - pytorch
    - torchvision
    - torchaudio
    - cudatoolkit=12.6
Step 3. Create your Conda environment with environment.yml Now that we have our environment.yml file created, we can activate it with:
conda env create -f environment.yml
Step 4. Activate Conda Environment Now that we have our environment.yml file created, we can activate it with:
conda activate pytorch_env
Congrats! Now you have a conda environment made with those dependencies that is easily shared between users thanks to our YAML file.
Step 5. Export your Conda Environment You can now share this environment easily between systems thanks to the environment.yml file. Export it using the following command:
conda env export > environment.yml
Summary
In this tutorial, you used idev to request a GPU node to work on, installed and used Conda to create a virtual environment, installed Pytorch in a virtual environment, and then ran an example script using multiple GPUs for AI/ML training tasks and benchmarking.
For more information about multi-GPU training, see the following documentation: Distributed Data Parallel in Pytorch
For more a more in-depth guide to using Conda, visit the official Conda documentation: https://docs.conda.io/